If you’re looking to bring some variety to your usual snack options, Carrot Hummus with Olive Oil and Paprika is a fantastic choice. This tasty take on traditional hummus offers a unique flavour combination that is both sweet and earthy. Carrots contribute a natural sweetness that complements the rich, creamy texture of chickpeas.
This dish is incredibly flexible and can be enjoyed in a range of situations. Whether you’re planning a picnic, hosting a gathering, or simply after a nutritious snack, Carrot Hummus with Olive Oil and Paprika makes an excellent option. Its bright orange colour is visually striking, making it a great addition to any table.
Furthermore, the ingredients in this recipe offer plenty of health benefits. Carrots are a rich source of beta-carotene, which supports eye health, while chickpeas provide protein and fibre, making this hummus a satisfying and nourishing choice. Olive oil adds a touch of richness, and paprika contributes a gentle kick that balances the flavours wonderfully.
Making Carrot Hummus is simple and requires little effort, making it ideal for both experienced cooks and beginners. The method involves blending cooked carrots with chickpeas, tahini, lemon juice, garlic, and a selection of spices to create a smooth and tasty dip. A final drizzle of olive oil and sprinkle of paprika not only enhances the flavour but also adds to its presentation. For those keen on experimenting, incorporating olive oil and paprika can further elevate the humble carrot hummus.
Include this delightful Carrot Hummus in your snack repertoire and enjoy a refreshing twist on a classic favourite.
To create your own Carrot Hummus with Olive Oil and Paprika, follow the following:

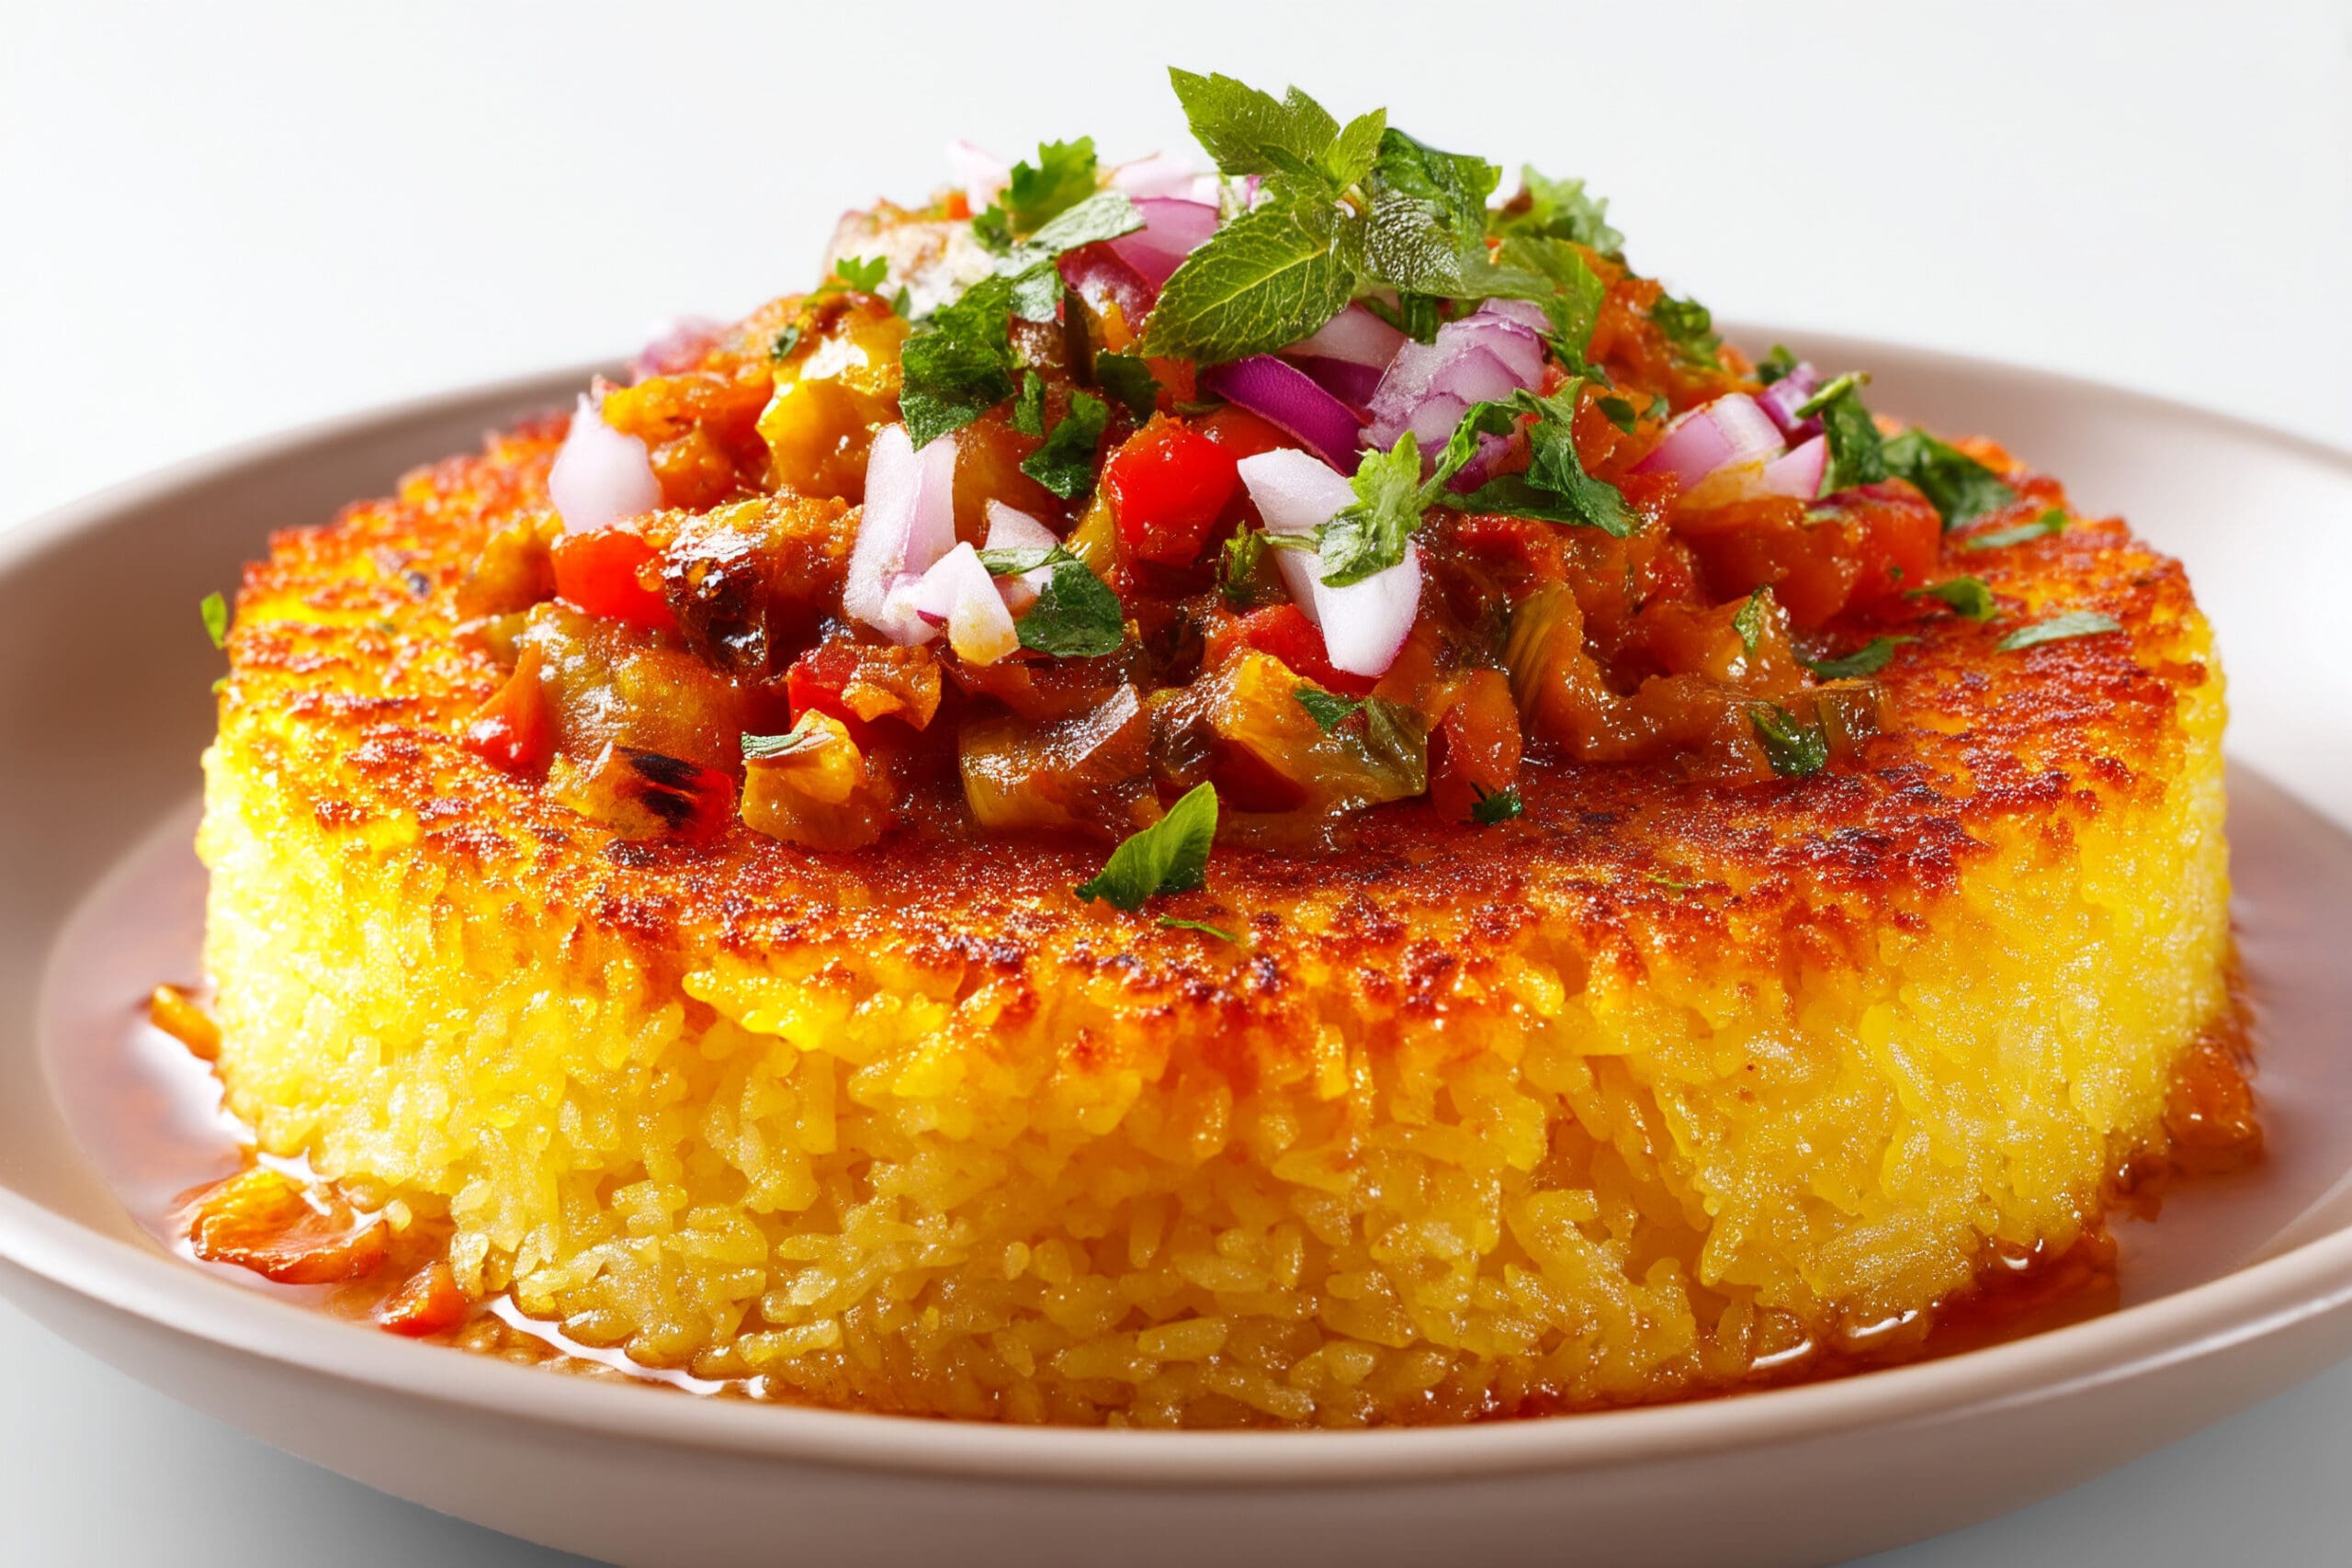
Carrot Hummus with Olive Oil and Paprika Garnish
Ingredients
Instructions
- Preheat your oven to 200°C (180°C fan)/Gas Mark 6.
- Spread the chopped carrots on a baking tray, drizzle with 1 tablespoon of olive oil, and season with salt and pepper. Roast in the oven for about 25 minutes or until the carrots are tender and slightly caramelised. Remove from the oven and allow them to cool for a few minutes.
- In a food processor, combine the roasted carrots, chickpeas, tahini, lemon juice, garlic, ground cumin, smoked paprika, and 1 tablespoon of olive oil. Blend until smooth and creamy. If the mixture is too thick, add a small amount of water, a tablespoon at a time, until the desired consistency is achieved.
- Taste the hummus and adjust seasoning with more salt, pepper, or lemon juice if needed.
- Spoon the hummus into a serving bowl. Drizzle with extra olive oil and sprinkle a pinch of smoked paprika on top for garnish.
- Serve with warm pitta bread, crudités, or crackers.
Nutrition
Serving Suggestion
Carrot Hummus is a versatile and tasty addition to many meals and snacks. Its distinctive flavour and vibrant colour make it a standout choice for a variety of serving options. One of the simplest and most popular ways to enjoy carrot hummus paired with olive oil and paprika is with fresh vegetable sticks such as cucumber, pepper, and celery. The crisp texture of the vegetables pairs beautifully with the creamy hummus.
Pitta bread is another excellent accompaniment. Warmed and cut into triangles, pitta bread provides a soft and chewy contrast that enhances the overall eating experience. Crackers, especially those with seeds or whole grains, are also a great option for dipping.
For a more filling meal, consider using Carrot Hummus as a spread in sandwiches or wraps. It adds a flavourful and nutritious layer that works well with a variety of fillings, from grilled chicken and roasted vegetables to fresh greens and sliced avocado. Try Carrot Hummus with Olive Oil and Paprika even as a base for an open-faced sandwich topped with ingredients like sliced tomatoes, cucumbers, and sprouts.
If you’re aiming to add a unique touch to your starters, use Carrot Hummus as a topping for crostini. Spread a generous layer on toasted baguette slices and finish with a sprinkle of herbs or a few roasted chickpeas for added texture and flavour.
Carrot Hummus also works wonderfully as a side dish. Serve it alongside grilled meats such as chicken, beef, or lamb for a nutritious and flavour-packed complement. It pairs particularly well with roasted vegetables, enhancing their natural sweetness and adding depth to the dish.
For a gathering or celebration, create a platter featuring Carrot Hummus. Surround it with an assortment of items such as olives, cherry tomatoes, cheese cubes, and a variety of bread and crackers. This not only provides an appealing spread but also ensures there’s something for everyone to enjoy.
Another creative way to incorporate Carrot Hummus is by using it as a salad dressing. Simply thin it out with a little water or extra lemon juice and drizzle it over mixed greens for a healthy and flavourful dressing.
Storing and Shelf Life
To keep your Carrot Hummus fresh, place it in an airtight container and store it in the fridge. It should stay fresh for around 4 to 5 days. For longer preservation, Carrot Hummus with the added olive oil and paprika can be frozen. Use a container suitable for the freezer, ensuring you leave some space at the top to allow for expansion. When stored correctly, it will remain good for up to a month. When you’re ready to enjoy the hummus again, move it from the freezer to the fridge to defrost. Once it has thawed, give it a thorough stir to restore its creamy texture before serving.