A Modern Twist on a South American Classic
If you’re searching for a quick beef dinner recipe that feels vibrant, fresh and restaurant-quality, these Chimichurri Beef Flatbreads deliver bold flavour in under 30 minutes. Tender British beef stir fry strips are seared until beautifully caramelised and layered onto warm flatbreads. After that, they are finished with bright green chimichurri. Made using premium beef available from Nicol Retailer, this dish combines heritage flavour with modern convenience.
British beef is known for its traceability, high welfare standards and consistent quality. This makes it a reliable choice for flavour-driven recipes, as highlighted by the Agriculture and Horticulture Development Board (AHDB).
The History Behind Chimichurri
Chimichurri originates from Argentina and Uruguay, where it is traditionally served with grilled beef during asado cooking. As widely documented in South American cuisine by BBC Good Food, this is a classic pairing.
The sauce itself is simple yet powerful: parsley, garlic, olive oil and vinegar. Designed to cut through rich, grilled meat, chimichurri provides brightness and balance. Over time, this humble herb sauce has travelled far beyond its roots and become a global favourite in modern kitchens. This recipe honours that tradition while giving it a contemporary twist. In particular, it swaps open-fire grilling for quick-seared British beef stir fry strips and serves it in soft flatbreads for easy sharing.

Chimichurri Beef Flatbreads with Charred Peppers
Ingredients
Beef
- 600 g Birchstead British Beef Stir Fry Strips
- 1 tbsp olive oil
- 1 tsp smoked paprika
- 1 tsp ground cumin
- Salt and black pepper
Chimichurri
- 1 small bunch fresh parsley
- 1 small bunch fresh coriander
- 2 cloves garlic
- 2 tbsp red wine vinegar
- 100 ml Olive oil
- Pinch chilli flakes
- Salt to taste
To Assemble
- 4 large flatbreads
- 2 red peppers, sliced
- 1 yellow pepper, sliced
- 150 g natural yoghurt
- Fresh lemon wedges
Instructions
Make the Chimichurri
- Finely chop parsley, coriander, and garlic.
- Mix with red wine vinegar, olive oil, chilli flakes, and salt. Set aside.
Cook the Peppers
- Heat a pan over medium-high heat.
- Add sliced peppers and cook until slightly charred and softened (5–6 minutes). Remove and set aside.
Sear the Beef
- Season beef strips with smoked paprika, cumin, salt, and pepper.
- Heat olive oil in a hot pan and cook beef in batches for 2–3 minutes until browned and juicy.
Assemble
- Warm flatbreads.
- Spread a spoonful of yoghurt over each, top with beef, charred peppers, and drizzle generously with chimichurri.
- Serve with lemon wedges.
Notes
Nutrition
Serving Suggestions
These Chimichurri Beef Flatbreads are incredibly versatile and can be styled to suit anything from a relaxed weeknight dinner to an impressive sharing platter for guests.
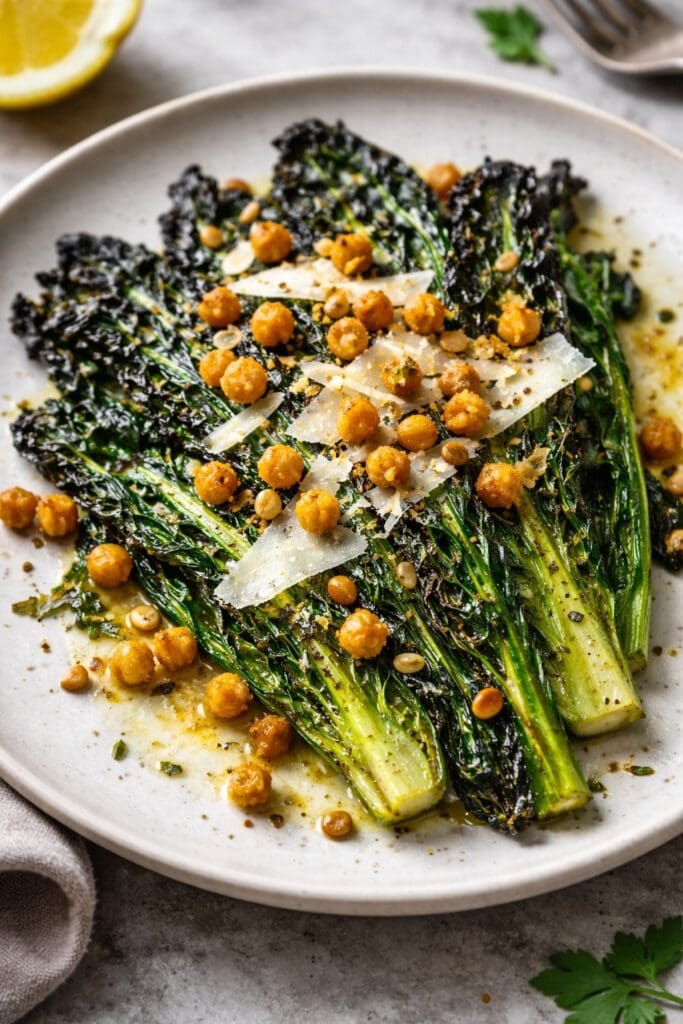
For a vibrant Mediterranean-style spread, serve alongside a rocket and shaved parmesan salad, drizzled with lemon and olive oil. The peppery leaves and salty cheese complement the richness of the beef beautifully. Add a bowl of marinated olives and warm flatbreads for a complete sharing table.
If you’re looking for something heartier, pair with crispy sweet potato wedges or rosemary roasted baby potatoes. The natural sweetness of the potatoes balances the tangy chimichurri and savoury beef. A side of grilled courgettes or charred aubergine enhances the Mediterranean feel.
For a lighter, summer-ready option, serve the chimichurri beef over a fresh couscous or quinoa salad with cucumber, cherry tomatoes and fresh herbs. You can also swap flatbreads for lettuce wraps for a low-carb alternative that still delivers bold flavour.
Entertaining guests? Present the components separately and allow everyone to build their own flatbread. Add toppings such as:
- Crumbled feta
- Pickled red onions
- Sliced avocado
- Extra yoghurt or tzatziki
- Fresh chilli for heat
However you serve it, using high-quality British beef stir fry strips ensures the centrepiece of the dish remains tender, flavourful and satisfying. This turns a simple flatbread into something truly memorable.
Mediterranean-inspired dishes, rich in olive oil, herbs and fresh vegetables, are often associated with balanced eating patterns, as outlined by the NHS guide to the Mediterranean diet.
The Star Ingredient: British Beef Stir Fry Strips
At the heart of this recipe are premium British beef stir fry strips. These are a versatile, quick-cooking cut that delivers exceptional flavour and tenderness. Because the beef is sliced evenly and thinly, it cooks rapidly at high heat. Moreover, this makes it ideal for fast, flavour-forward dishes like flatbreads, stir fries, wraps and noodle bowls.
What makes British beef stand out is its quality and traceability. Carefully sourced and prepared, it offers consistent texture, rich natural flavour, and excellent cooking performance. When seared properly, stir fry strips develop a beautiful caramelised crust while remaining juicy inside — exactly what you want for a bold dish like chimichurri beef.
Unlike tougher cuts that require long cooking times, stir fry strips allow you to achieve restaurant-style results in minutes. This makes them perfect for busy households, weeknight meals, and entertaining without stress.
Using high-quality beef from Nicol Retailer ensures:
- Consistent thickness for even cooking
- Tender texture without overcooking
- Deep, natural beef flavour
- Reliable performance in high-heat recipes
When you start with quality ingredients, you don’t need complicated techniques or heavy sauces to create something special. The beef becomes the hero of the plate — enhanced, not masked, by fresh herbs and balanced seasoning.
Final Thoughts
From the traditional Argentine asado to your own kitchen table, chimichurri has travelled through history as a celebration of beef and bold flavour. By pairing it with premium British beef stir fry strips, you create a dish that feels both authentic and contemporary.
Great recipes begin with great ingredients — and with quality beef from Nicol Retailer, you’re already halfway there.