A Silky, No-Bake Dessert Made with Centaur Pistachio Paste
If you’re looking for a dessert that blends luxury, artistry and effortless elegance, this Pistachio & White Chocolate Mousse Cake deserves a place at the top of your baking list. Made with the incredibly smooth and intensely flavourful Centaur Pistachio Paste (1kg) from Nicol Retailer Limited, this no-bake masterpiece delivers a depth of nutty richness that transforms each bite into a decadent experience.
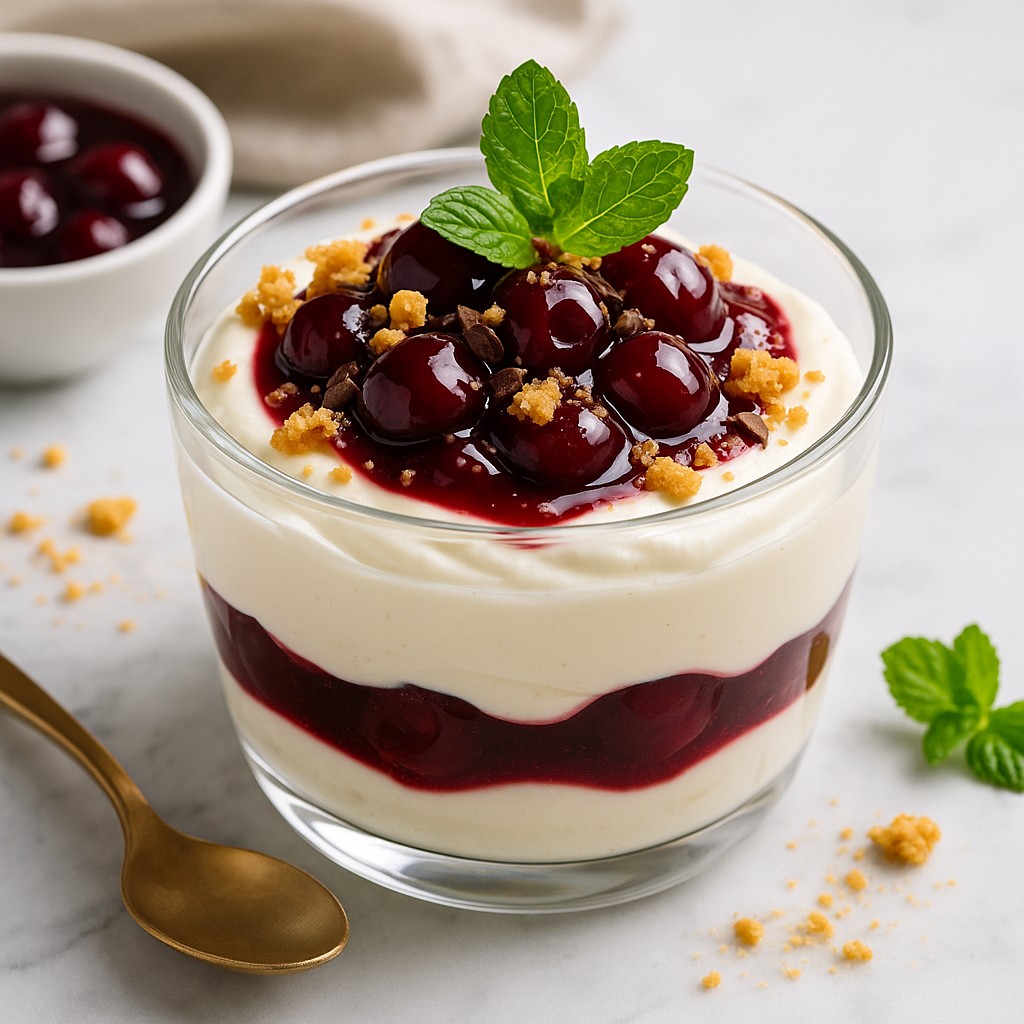
The velvety pistachio mousse melts on the palate, the buttery biscuit base adds a satisfying crunch, and the white chocolate topping brings a silky sweetness that completes the perfect harmony of flavours. Whether you’re hosting a celebration, preparing a gourmet after-dinner treat, or simply treating yourself to something extraordinary, this dessert promises show-stopping presentation, unforgettable flavour and pure pistachio indulgence.
Crafted to impress but remarkably simple to prepare, this mousse cake showcases the true beauty of premium ingredients — and when those ingredients come from Nicol Retailer Limited, you know you’re working with the best. This is the kind of dessert that turns a special occasion into a memory.
Brief History of Pistachio Paste
Pistachio paste has a long, rich history that stretches back thousands of years. Pistachios themselves are one of the world’s oldest cultivated nuts, enjoyed as early as 7000 BC in Persia (modern-day Iran). Known as “the green gold,” pistachios quickly became prized across the Middle East, Mediterranean and later Europe for their vibrant colour, natural sweetness and luxurious flavour.
Although pistachios were historically eaten whole, roasted or ground into sweets, pistachio paste as we know it today gained popularity in the 19th and early 20th centuries when European pastry chefs began incorporating finely milled pistachios into creams, custards, pralines and patisserie fillings. Italy — especially Sicily — is now renowned for its pistachio paste, using naturally green nuts from Bronte to create deeply flavoured spreads and dessert bases. France also embraced pistachio paste in classic pâtisserie such as Paris-Brest, macarons and ice cream.
Today, pistachio paste is a key ingredient in gourmet desserts worldwide, loved for its smooth texture, distinctive flavour and versatility. Whether used in cakes, mousses, gelato or buttercreams, high-quality paste like Centaur Pistachio Paste delivers a pure, authentic pistachio profile that elevates even the simplest recipes into patisserie-level creations.
How to Make This Delicious Pistachio & White Chocolate Mousse Cake
Creating this luxurious, no-bake dessert is far easier than it looks — and every step helps build the silky texture, rich pistachio flavour and beautiful presentation that make this mousse cake unforgettable. Follow the simple instructions below to prepare each layer to perfection and bring this elegant dessert to life in your own kitchen.

Pistachio & White Chocolate Mousse Cake
Ingredients
For the Base:
For the Pistachio Mousse Layer:
- 250 g mascarpone or cream cheese
- 150 g double cream
- 150 g full-fat plain Greek yogurt (or more cream if you prefer richer texture)
- 120 g Centaur Pistachio Paste
- 80 g powdered sugar (icing sugar)
- 1 tsp vanilla extract
For the White Chocolate Layer:
- 200 g white chocolate, roughly chopped
- 50 ml double cream
Optional Garnish / Decoration:
Instructions
Prepare the Base
- Crush the biscuits into fine crumbs.
- Combine with melted butter.
- Press mixture firmly into the base of a 20 cm (8-inch) springform cake tin or tart ring.
- Chill in fridge while you prepare the filling.
Make the Pistachio Mousse
- In a mixing bowl, whisk together the mascarpone (or yogurt), powdered sugar, vanilla extract and Centaur Pistachio Paste until smooth.
- In a separate bowl, whip the double cream to soft peaks.
- Gently fold the whipped cream into the pistachio-paste mixture until fully combined and light.
Pour Mousse Over Base
- Remove the biscuit base from fridge and pour the pistachio mousse over it.
- Smooth the top with a spatula.
- Chill in fridge for at least 2 hours (preferably overnight) so the mousse sets firmly.
Prepare the White Chocolate Glaze
- Gently melt the white chocolate with 50 ml cream in a heatproof bowl over simmering water (double boiler). Stir until smooth and glossy.
- Let cool slightly, then pour over the chilled pistachio mousse layer.
- Return to fridge and chill for at least 30 minutes to set.
Decorate & Serve
- Carefully remove the cake from the tin.
- Sprinkle crushed pistachios over the top.
- Add white chocolate shavings or curls.
- Garnish with a few whole pistachios and fresh mint leaves for colour.
- Slice and serve chilled — the contrast between cold creamy mousse and crunchy pistachios is irresistible.
Notes
Nutrition
Why You’ll Love This Pistachio & White Chocolate Mousse Cake
This stunning no-bake dessert stands out for so many irresistible reasons:
- Rich, authentic pistachio flavour thanks to premium Centaur Pistachio Paste from Nicol Retailer Limited, giving every bite a deep, natural nuttiness that cheaper alternatives can’t match.
- Perfectly balanced sweetness from silky white chocolate, which enhances rather than overwhelms the pistachio mousse.
- No baking required, making this cake easy, reliable and ideal for beginners or quick preparation.
- Luxurious, melt-in-the-mouth texture created by the smooth pistachio mousse, buttery biscuit base and glossy white chocolate layer.
- Visually stunning presentation, with its elegant green hue and patisserie-style finish, guaranteed to impress guests.
- Ideal for celebrations, including birthdays, festive gatherings, dinner parties or gifting — this is a dessert that always steals the spotlight.
- Versatile and customisable, allowing you to adjust sweetness, decorate creatively and serve with berries, chocolate or fresh herbs.
- Made with high-quality ingredients sourced from Nicol Retailer Limited, ensuring premium taste and dependable results every time.
- Light yet indulgent, offering a luxurious dessert without feeling overly heavy or dense.
Serving Suggestions
his luxurious Pistachio & White Chocolate Mousse Cake deserves to be served in a way that enhances its elegant layers and rich, nutty flavour. For the best experience, slice the cake while fully chilled to preserve its smooth mousse texture and clean, defined lines. Serve each portion on a chilled dessert plate to maintain its light, creamy consistency.
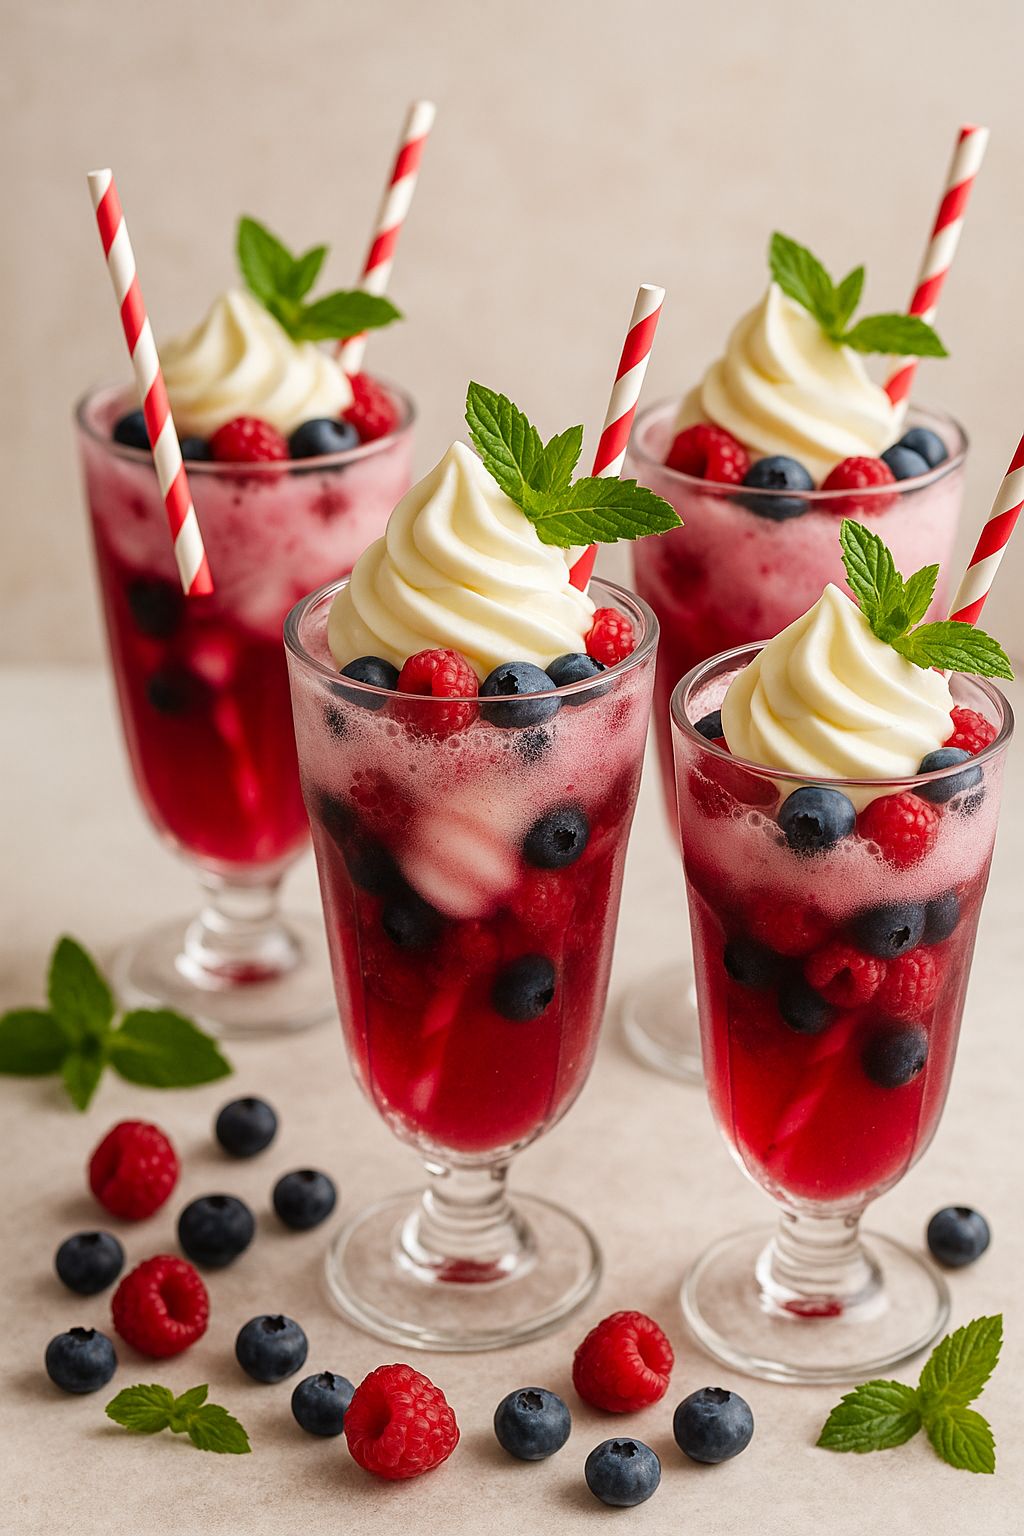
To complement the deep, buttery flavour of the Centaur Pistachio Paste, pair each slice with fresh seasonal berries—such as raspberries, strawberries or blueberries—for a pop of natural acidity and colour contrast. A drizzle of warm white chocolate or a touch of honey also adds a luxurious finishing note.
For a restaurant-style touch, garnish plates with crushed pistachios, mint leaves, or delicate white chocolate curls. The fresh mint brings brightness, while the added pistachios enhance the cake’s natural nuttiness and provide a satisfying crunch.
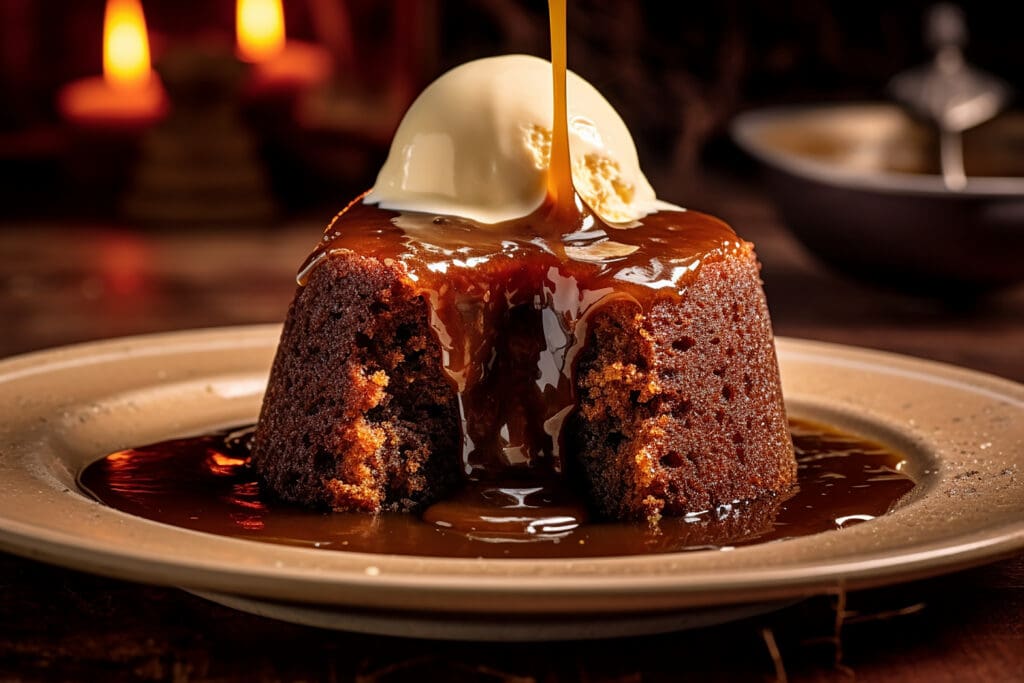
Beverage pairings can elevate your dessert even further. This pistachio mousse cake pairs beautifully with espresso, matcha latte, sweet dessert wine, or a light herbal tea. If you prefer something indulgent, try serving with a scoop of vanilla bean ice cream or pistachio gelato for the ultimate pistachio lover’s plate.
Whether you’re entertaining guests, celebrating a special occasion, or enjoying a refined treat at home, these serving suggestions turn every slice into a gourmet dessert experience — making your Pistachio & White Chocolate Mousse Cake truly unforgettable.
Shop Premium Ingredients for This Recipe at Nicol Retailer Limited
Creating a dessert as luxurious as this Pistachio & White Chocolate Mousse Cake begins with using the right ingredients — and you can find everything you need in one place at Nicol Retailer Limited. Whether you’re a home baker, a chef, or simply someone who loves crafting high-quality desserts, Nicol Retailer offers a carefully curated selection of premium products that take your baking to the next level.
Centaur Pistachio Paste – The Star Ingredient
The secret behind this cake’s rich flavour and silky, nutty mousse is the Centaur Pistachio Paste (1kg). Unlike cheaper pastes or artificially flavoured spreads, this premium paste delivers:
- Deep, authentic pistachio flavour
- Smooth, velvety consistency
- Natural colour without additives
- Excellent blending for mousses, creams and toppings
This is the key ingredient that transforms a simple no-bake cake into a patisserie-style masterpiece — and it’s exclusively available at Nicol Retailer Limited.
Other High-Quality Essentials You Can Buy at Nicol Retailer
To help you create this stunning dessert effortlessly, Nicol Retailer provides top-quality versions of all the core ingredients you need, including:
- Butter & dairy products for a rich mousse and smooth base
- Digestive biscuits or alternatives for the perfect crumb base
- White chocolate with clean meltability and premium flavour
- Double cream, mascarpone, or Greek yogurt for creamy, stable mousse texture
- Crushed pistachios for decorative finishing touches
Everything is chosen for its freshness, quality and reliability, giving you confidence that your dessert will turn out beautifully every time.
Why Buy from Nicol Retailer Limited?
- Trusted supplier of premium baking ingredients
- Excellent value for bulk and speciality items
- Perfect for home bakers, cafés, patisseries and catering
- Fast delivery and reliable customer service
- Carefully selected quality products not always available in supermarkets
When you shop at Nicol Retailer Limited, you’re not just buying ingredients — you’re investing in exceptional flavour, professional results and unforgettable desserts.